在windows环境下让XAMPP使用Nginx作为Web服务器
windows中下载(xampp)apache后使用nginx作为服务器
首先去php文件夹那里, 把那个php.ini Copy一份, 命名为php-cli.ini 让nginx使用. 而不会影响Apache 的使用。
打开php-cli.ini,配置下面几个 参数
1 | enable_dl = On; |
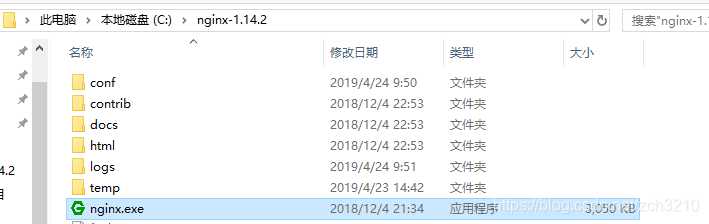
然后下载nginx http://nginx.org/en/download.html解压
在nginx上部署项目
打开conf文件夹下的nginx.conf文件进行配置
1 | server { |
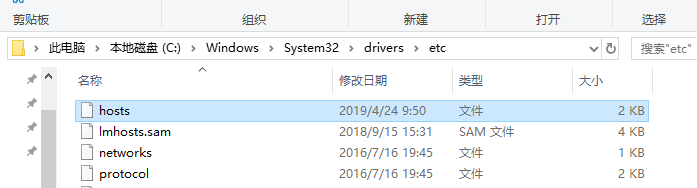
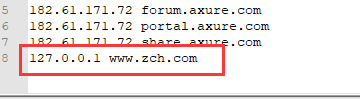
在C:\Windows\System32\drivers\etc\hosts文件下 , 配置虚拟目录,即是配置文件中的server name
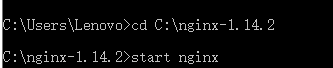
启动nginx(如果端口号被占用的话就换一个端口号)
切换到php目录,执行 php-cgi.exe -b 127.0.0.1:9001 -c C:\xampp\php\php-cli.ini,

切换到nginx目录,启动nginx
以上结束
参考方法一:
说实话, 在windows下使用Nginx 着实有点不太方便, 但因项目需求, 又不想换系统(虽然可以搞个虚拟机玩), 只能用Nginx了
好了, 不多说了. 开始…
首先我用的是xampp包(Apache+Mysql+php+perl) 用的是3.2.2版, 这里各自喜欢…不多说
一般我是把xampp安装在D:\xampp下的…
首先去下载一个Nginx的包.. 戳这->http://nginx.org/en/download.html 有三个版的(Mainline version / Stable version / Legacy versions ) 我是下了个稳定版的 即Stable version ,不要问为什么, 因为稳定!
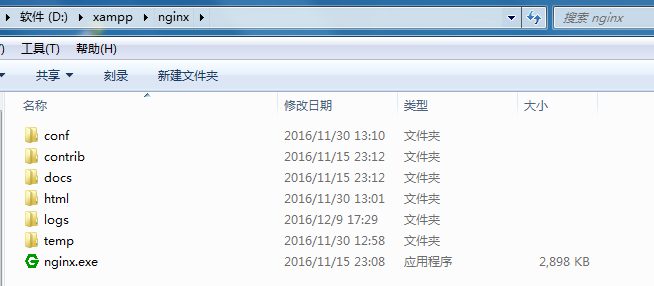
下完后就可以解压至D:\xampp\nginx 了… 如图:
这里得去php文件夹那里, 把那个php.ini Copy一份, 命名为php-cli.ini 这个就是为了给Nginx玩的. 而不会影响Apache 的使用….
好了. 到这里, 就打开php-cli.ini(建议文本器打开)
配置一下下面几个 直接查找就行了::
enable_dl = On;


cgi.force_redirect = 0;


cgi.fix_pathinfo=1;


fastcgi.impersonate = 1;


cgi.rfc2616_headers = 1;
OK 现在就可以打开nginx.exe了

(这里的-b 应该是 -a 和 -p 的集合…吧)
然后再开一个cmd 下输 D:\xampp\nginx\nginx

这里有点麻烦就是, 如果挂了. 就得重新打开一个cmd… D:\xampp\nginx\nginx -s reload
也可以这样处理, 关闭Nginx
taskkill /F /IM nginx.exe > nul
taskkill /F /IM php-cgi.exe > nul
建议如果是改了配置的话, 得先使用 nginx -t 测试看有没有报错. 再reload 或者其它操作
还有我看了下网上说的, 可以借助RunHiddenConsole 来管理Nginx (这里我没试过, 有空得搞搞)
注意: nginx不能和apache 同时使用, 因为他们默认都使用同一个端口 所以你开nginx得把apache干掉
Nginx 配置\:
打开nginx\conf\nginx.conf
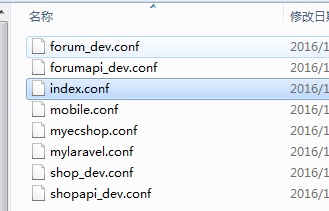
这里我是直接引入了文件夹去找其它的配置
像这样(-^-)
include web/*.conf;
location / {
root D:/xampp/htdocs/;
index index.html index.htm index.php;
autoindex on;
autoindex_exact_size on;
autoindex_localtime on;
}
location ~* .php$ {
root D:/xampp/htdocs/;
fastcgi_pass 127.0.0.1:9000;
fastcgi_index index.php;
include fastcgi.conf;
}
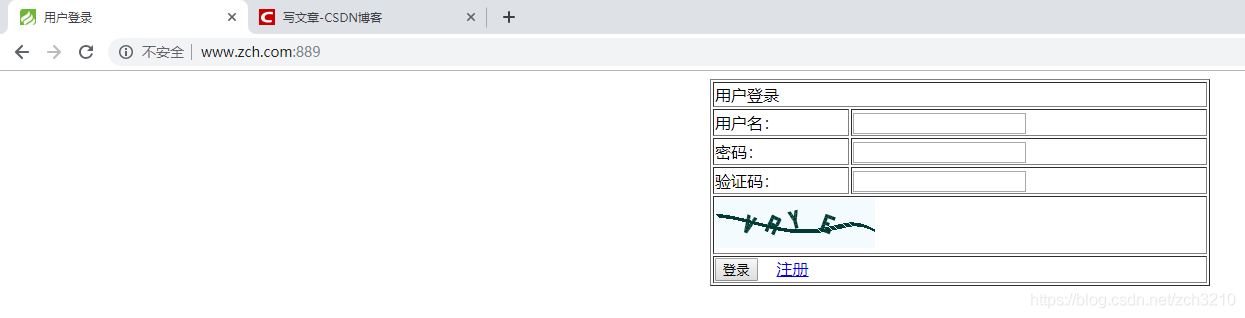
配置根站点…
还有配置一下那个phpmyadmin
location = /phpmyadmin/ {
root D:/xampp/;
index index.php index.html index.htm;
}
location ~* /phpmyadmin/.*.php {
root D:/xampp/;
include fastcgi.conf;
fastcgi_pass 127.0.0.1:9000;
fastcgi_index index.php;
#fastcgi_param SCRIPT_FILENAME D:/xampp/$fastcgi_script_name;
}
重新加载配置>>>D:\xampp\nginx\nginx -t >>> D:\xampp\nginx\nginx -s reload
配域名的话这里就不写了. 不会的话, www.baidu.com 是个好东西.